A Tanzania safari offers some of the most extraordinary wildlife photography opportunities on the planet. From lions lounging on the Serengeti plains to elephants silhouetted against a golden African sunset, every moment presents a potential masterpiece. But capturing these moments requires more than just a good camera — it demands understanding light, composition, animal behavior, and the unique challenges of shooting from a vehicle in the field. Whether you're a seasoned photographer or picking up a camera for the first time, these tips will help you make the most of your safari experience.
Choose the Right Lens
The lens you bring on safari matters more than the camera body itself. A telephoto lens in the 100-400mm range is the workhorse of wildlife photography, offering enough reach to capture animals at a safe distance while maintaining sharpness and detail. For close encounters at watering holes or in dense bush, a 70-200mm zoom is more versatile. A wide-angle lens (16-35mm) is invaluable for landscape shots — capturing the vastness of the Serengeti, dramatic cloud formations, and environmental portraits that show animals in their habitat. Many professional safari photographers carry two camera bodies with different lenses attached, allowing them to switch instantly without changing lenses in dusty conditions.
Master Your Camera Settings
Speed and flexibility are paramount in wildlife photography. Set your camera to aperture priority mode (A or Av) with a wide aperture (f/4-f/5.6) to isolate your subject from the background with a shallow depth of field. Use continuous autofocus (AI Servo on Canon, AF-C on Nikon/Sony) to track moving animals, and set your drive mode to continuous or burst mode to capture multiple frames per second. Keep your ISO as low as possible in bright light (100-400) but be prepared to raise it to 1600-3200 or higher during dawn, dusk, and overcast conditions. A fast shutter speed is essential — aim for at least 1/1000th of a second for sharp images of moving animals.
Chase the Golden Hour
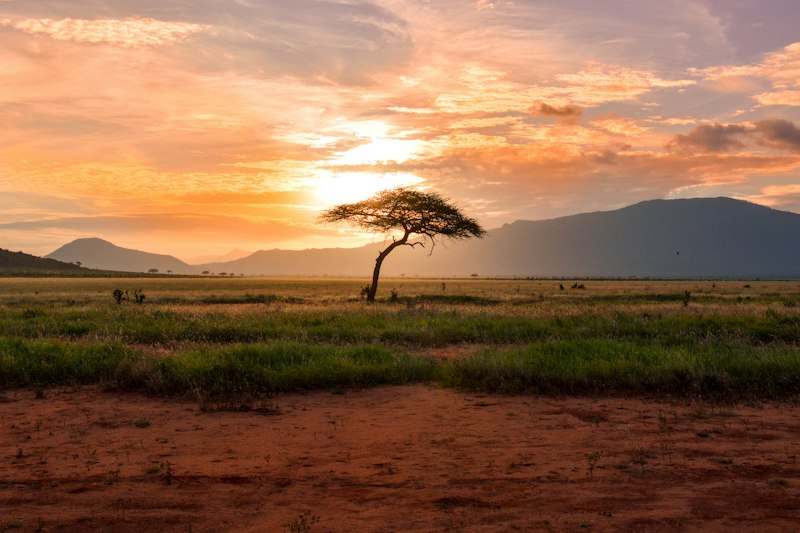
The hours just after sunrise and before sunset — known as the golden hour — produce the most magical safari photographs. The warm, low-angled light creates long shadows, rich colors, and a soft, golden glow that transforms ordinary scenes into extraordinary images. Early morning drives also offer the best chance to see active predators, as lions and leopards are most active during cooler temperatures. Evening game drives provide stunning backlit opportunities, with animals silhouetted against the setting sun. Plan your longest game drives around these golden hours and use the midday period for rest, editing, or visiting cultural attractions.
Compose with Intention
Good composition separates snapshots from photographs. Apply the rule of thirds by placing your subject off-center, leaving space in the direction the animal is looking or moving. This creates a sense of narrative and draws the viewer's eye through the image. Look for natural frames — branches, grass, or other animals — that add depth and context. Don't forget to shoot both horizontal and vertical orientations, as many images lose impact when cropped from one format to the other. And while close-up portraits are powerful, remember to include wider environmental shots that capture the landscape and atmosphere of the safari experience.
The best safari photograph isn't always the one with the closest animal — it's the one that tells a story about the animal in its world.
Shooting from a Vehicle
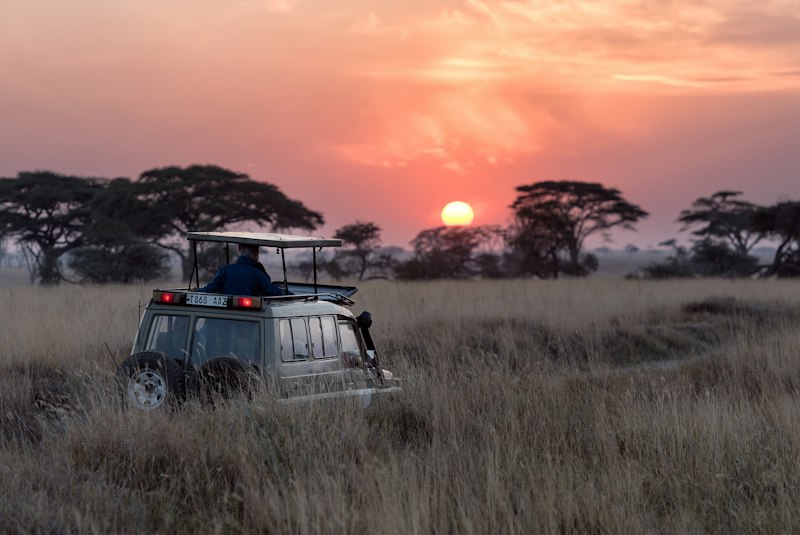
Most safari photography takes place from a vehicle, which presents both opportunities and challenges. Use the vehicle frame as a stable platform — rest your elbows on the door frame or bean bag for sharper images, especially with heavy telephoto lenses. Bean bags are far more effective than tripods in a vehicle, as they conform to the shape of the door frame and absorb vibrations. Keep your lens hood on at all times to prevent flare from the harsh African sun and to protect the front element from dust. When shooting from a pop-top vehicle, be mindful of the opening edges that can intrude into your frame.
Work with Backlighting
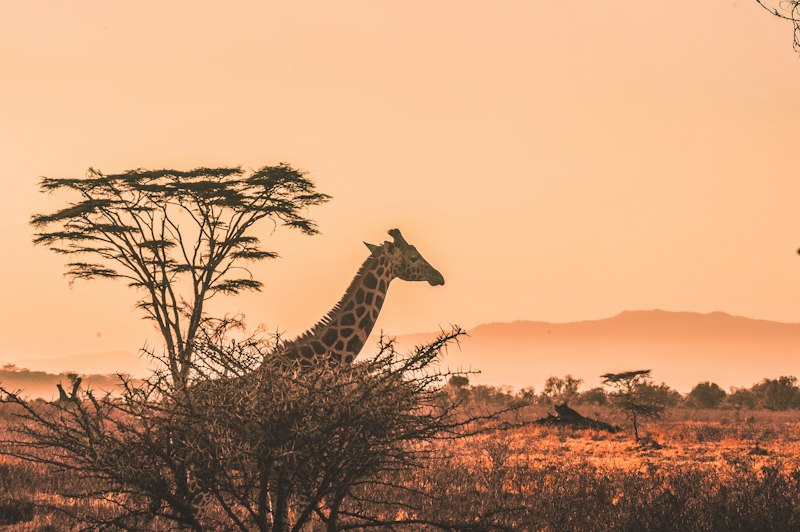
Backlighting — where the light source is behind your subject — creates dramatic, atmospheric images that stand out from the crowd. Animals backlit by the rising or setting sun develop a beautiful rim light that outlines their form and separates them from the background. Expose for the highlights to preserve the golden glow, even if it means underexposing the animal itself — silhouettes and semi-silhouettes can be incredibly powerful. Shoot toward the light source during golden hour and experiment with different exposures to find the balance that works best for each scene.
Focus Techniques for Sharp Images
Getting sharp focus on wildlife requires practice and technique. Use single-point autofocus and place the focus point directly on the animal's eye — the eye is the most critical element in any wildlife portrait. If your camera has eye-detection autofocus, use it, but always verify that the focus is locked on the eye before shooting. For animals in motion, use continuous autofocus with tracking to maintain focus as the animal moves through the frame. Pre-focus on a spot where you expect an animal to appear — a trail, a watering hole, or a clearing — and fire when it enters your focus zone.
Post-Processing Tips
Post-processing is an essential part of digital photography. Shoot in RAW format to capture the maximum amount of data, giving you flexibility to adjust exposure, white balance, and colors in editing. Software like Adobe Lightroom and Capture One are industry standards for processing safari images. Basic adjustments — exposure correction, white balance tuning, subtle contrast and clarity boosts, and careful cropping — can transform a good image into a great one. Avoid over-processing; the goal is to enhance what nature already provided, not to create an artificial-looking result. Keep a consistent editing style across your safari images for a cohesive, professional-looking portfolio.
Protect Your Gear
Tanzania's environment is beautiful but harsh on camera equipment. Dust is the biggest enemy — use a rain cover or plastic bag in dusty conditions, and clean your lens and sensor regularly. Carry your camera in a padded bag with silica gel packets to absorb moisture. Bring a blower brush and microfiber cloths for daily cleaning. Insure your equipment before the trip, as replacement gear is not readily available in safari areas. And always keep your camera accessible — the best moments happen when you least expect them, and fumbling with bags means missed shots.
Final Thought
The most important safari photography tip is simple: put the camera down occasionally and soak in the experience with your own eyes. The photographs are重要, but the memories you make — the sounds, the smells, the sheer wonder of being surrounded by wildlife in their natural habitat — are what truly make a safari transformative. Shoot with intention, be patient, and let the magic of Africa come to you.